Paychex™ Iris Time Clock Support
Thank you for being a Paychex customer. This step-by-step guide will help you setup and use your Paychex Iris Time Clock. The Iris Time Clock is fast, reliable, and integrates with Paychex Flex® — allowing accurate time and attendance data to flow seamlessly to payroll and other HR solutions.

Before You Begin
- Decide if employees will register using their Employee Number or Badge Number.
- Assign access to admin settings using the Feature Access Template in Paychex Flex® Time.
- Make sure your employees are active in Paychex Flex Time.
- If employees will be using their Badge Number to clock in, enter it in the Badge Number field in Paychex Flex Time.
- Verify the clock has a network connection:
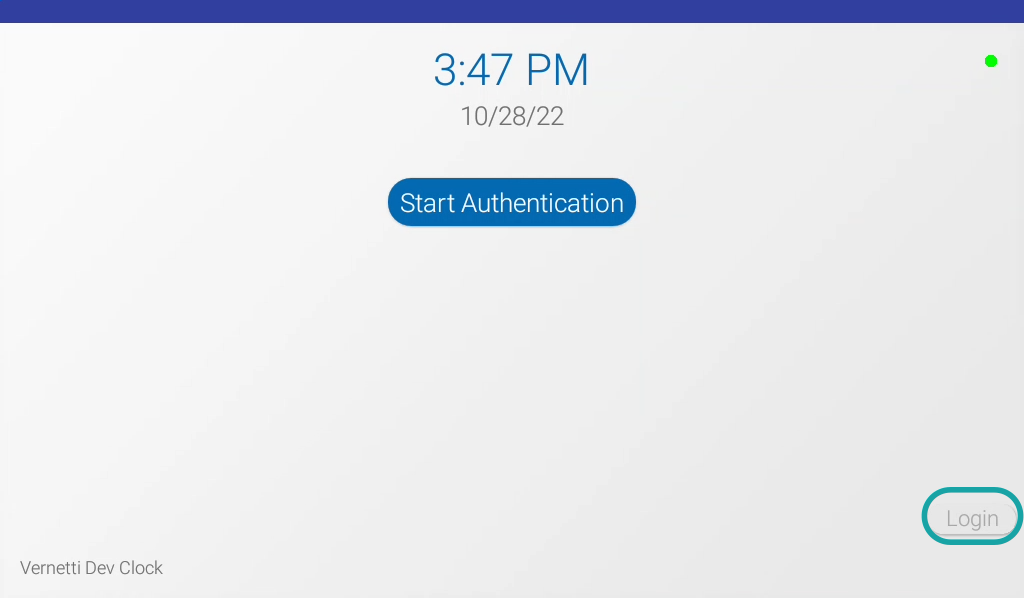
- A green dot in the upper right corner means the clock is connected.
- A red dot means the clock isn’t connected.

How To Enroll Employees
How To Enroll an Admin or Employee
Step 1: Log In
To enroll an employee at the clock, you’ll need to be a system admin.
- Ensure the employee is close by. Make sure you know their Badge Number or Employee ID.
- To get started, press Login.
Step 2: Select Admin
Press Admin.

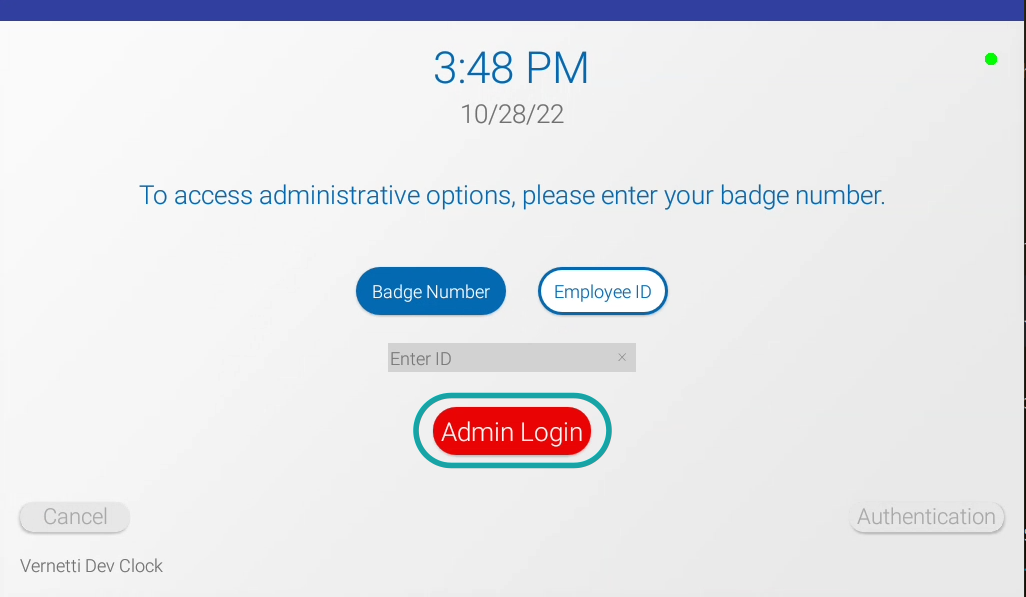
Step 3: Enter Credentials
- Enter your own Badge Number or Employee ID.
- Press Admin Login.
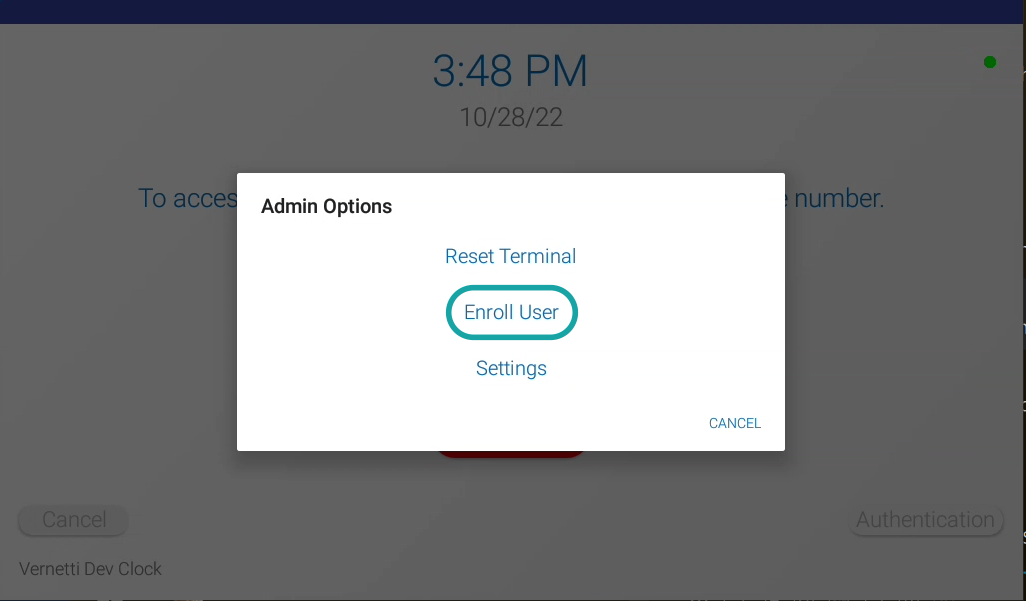
Step 4: Enroll User
- Select Enroll User.
If this is your first time enrolling an employee, be sure to enroll yourself first. Then you’ll be able to enroll other employees.
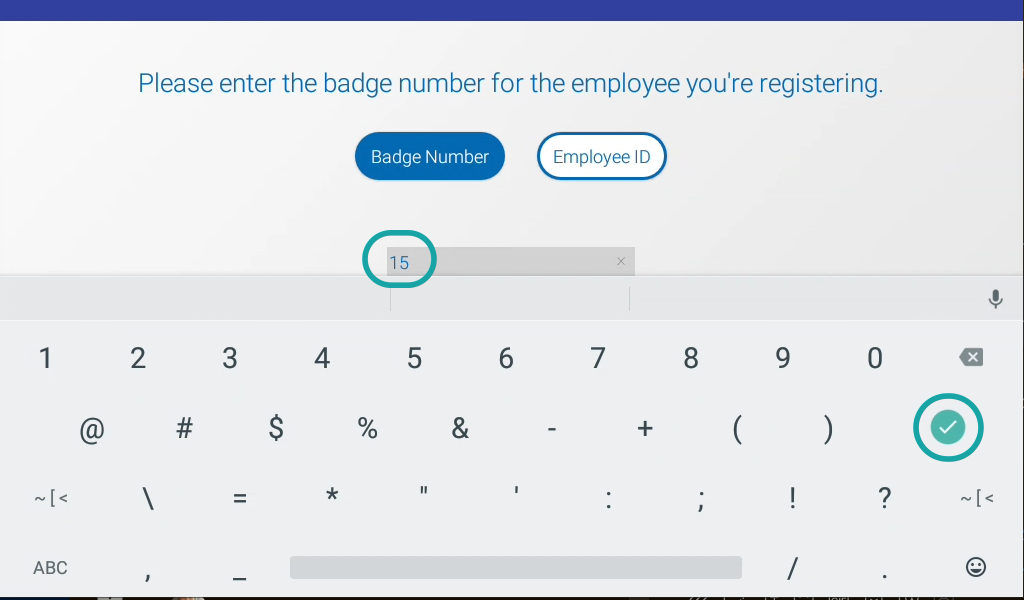
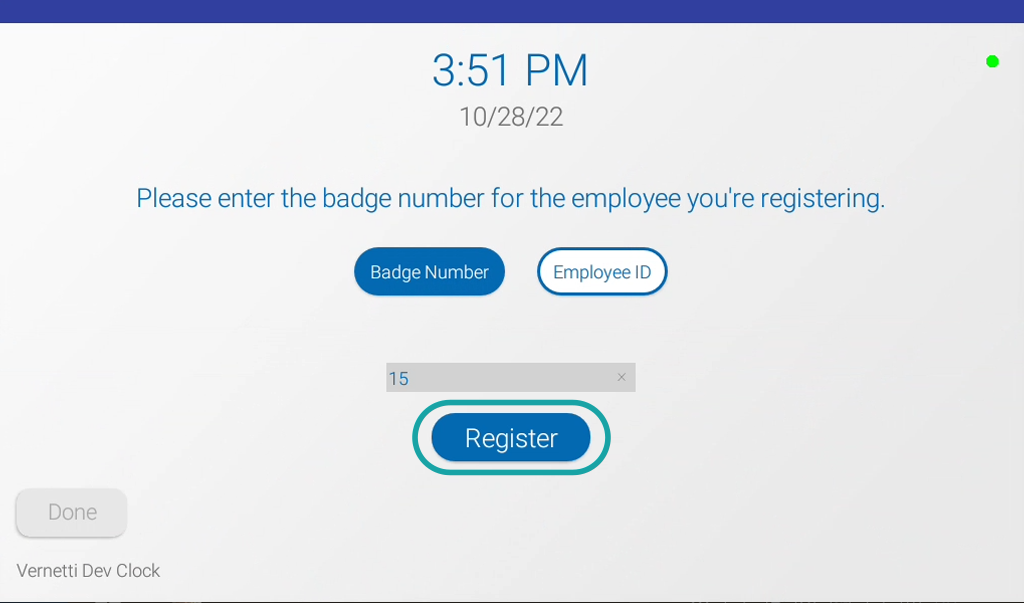
Step 5: Enter Employee’s Number
- Select Badge Number or Employee ID.
- Enter the appropriate value.
- Press the green checkmark icon.
Step 6: Enter and Register
- Press Register.
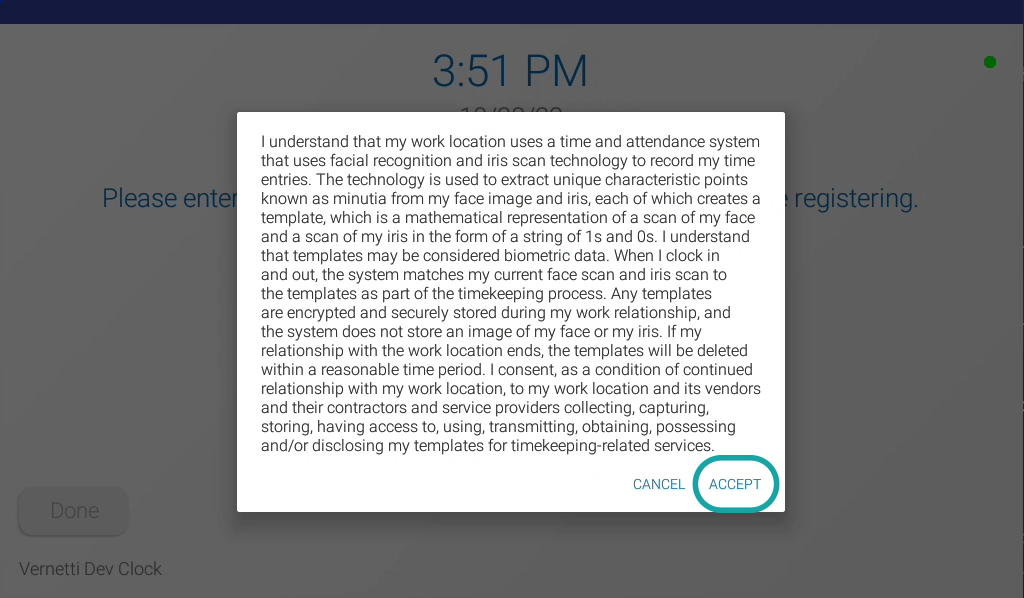
Step 7: Agree and Accept
- Invite the employee to read the Biometric Consent Agreement.
- Ask them to press CANCEL or ACCEPT.
Please note: Enrollment cannot be completed if the employee does not accept the consent agreement.
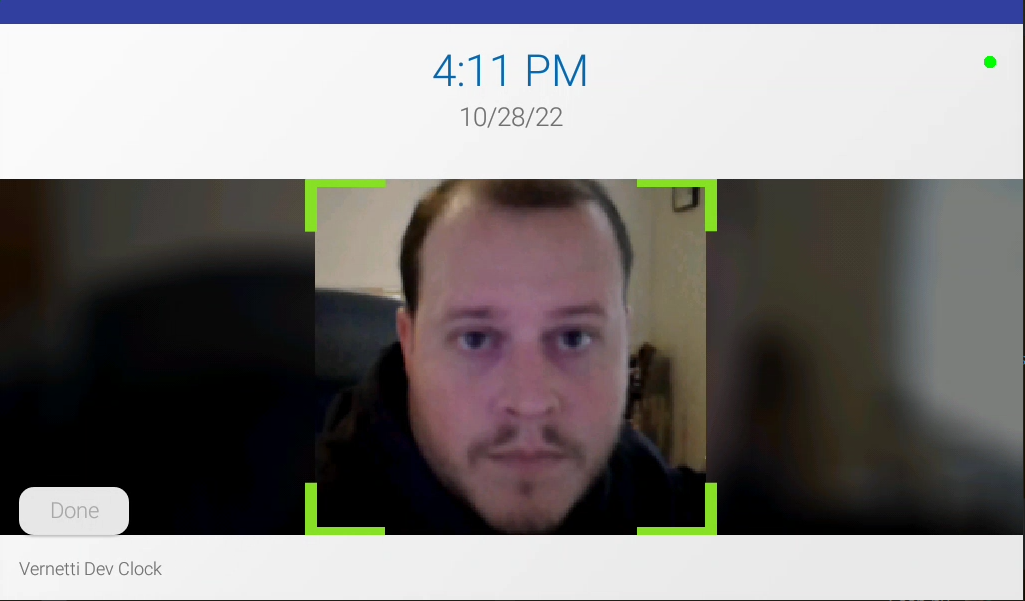
Step 8: Obtain Employee Photo
- Ask the employee to stand directly in front of the clock.
- The clock will guide the employee to the correct position.
- When the corners of the view finder turn green, ask the employee to look at the camera.
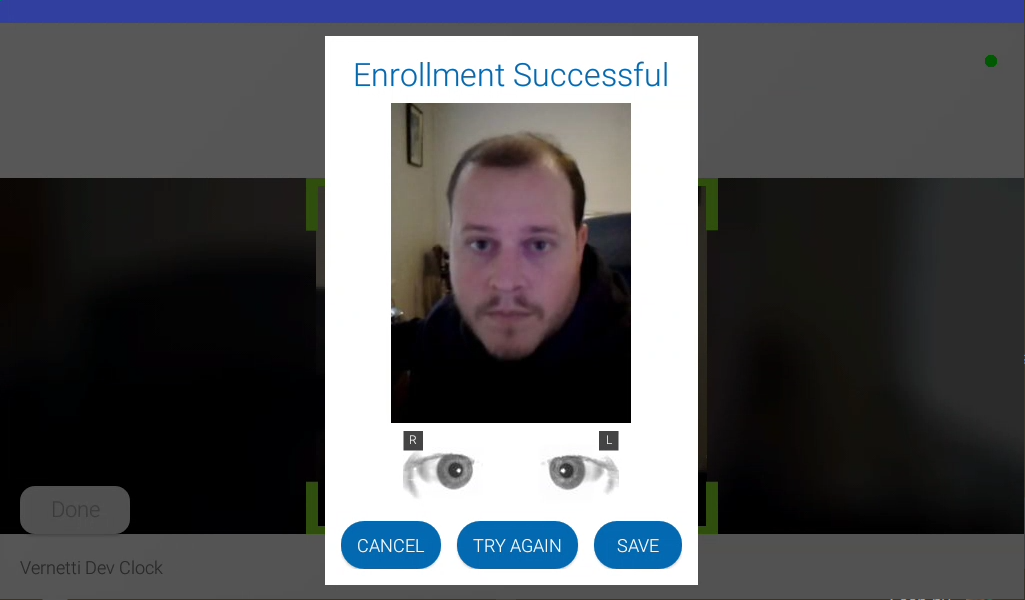
Step 9: Save and Finish
- To complete the enrollment, press SAVE.
Best Practices
Environment
Mount the Paychex Iris Time Clock in a temperature-controlled environment, protected from the weather to ensure it performs optimally. The clock works best when mounted in a well-lit environment.
Internet Connection
For the best results, it’s recommended the clock be connected via ethernet or power over ethernet (PoE). If you’re using Wi-Fi, ensure the signal strength is within range of the time clock. If network signal strength is low, consider repositioning the clock or using a Wi-Fi access point.
Employee Recognition
Although the Paychex Iris Time Clock is designed to recognize employees without the removal of personal protective equipment (PPE) or eyeglasses, in an employee’s initial enrollment it’s best if there’s no obstruction of their eyes and face.
Software Updates
At Paychex, we routinely update our software to release new functionality and address critical issues. These updates will occur automatically, usually overnight. If you notice the clock reboot during evening hours, it’s likely we updated its software. Unless something unexpected happens after the reboot, there’s no need to report this.